This classic subway tile backsplash was a simple DIY that added a ton of character to our kitchen.
 Our new subway tile backsplash is DONE! Recently I shared our new kitchen countertops and stools, but this was the final piece that needed to be completed! Now that it’s done I’m SO happy that I went with Subway tile! Today I’ll explain how simple DIY’ing a tile backsplash really is!
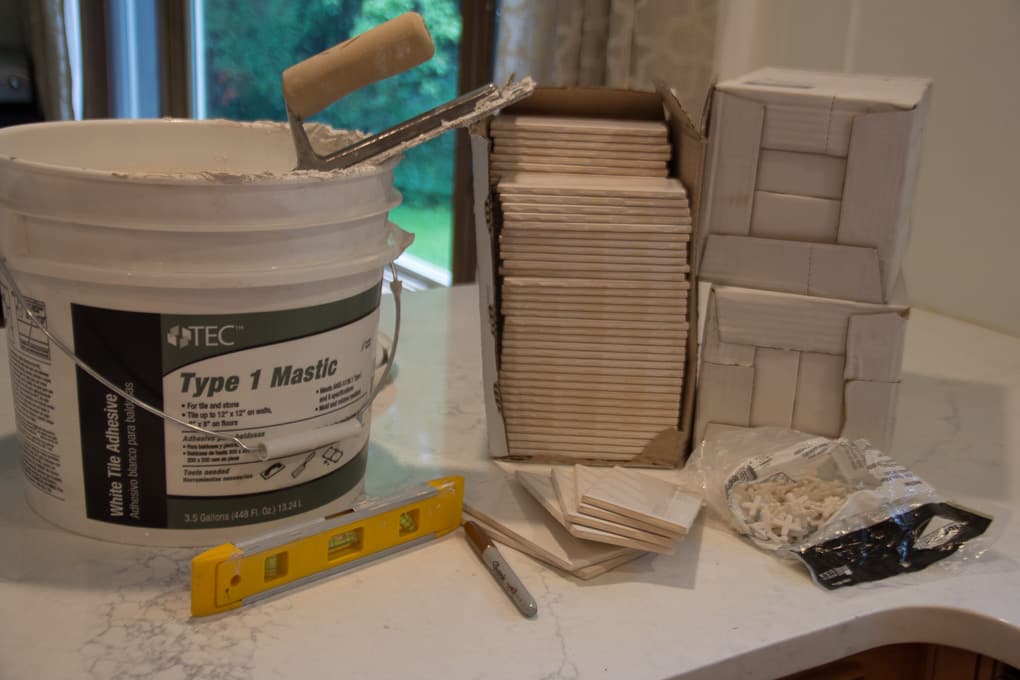
When it comes to tile supplies there are SO many options out there. My advice is that for subway tile you don’t need a fancy tile saw, your cuts are mostly “L’s” and are really simple. Definitely buy more spacers then you’ll think you need! They’re cheap but valuable! Here’s a few links to the products you’ll need:

Before tiling, I used mesh drywall patches to repair the damaged spots from removing the old backsplash. Then I started in a corner so that I wouldn’t end up with slivers of pieces in the corner. For the first row I used spacers under each tile, just to give it the perfect gap from the countertop. It’s important to make sure that your first row is level, because if it’s not you will only run into problems from there.Then I just worked my way up, being sure to use spacers under and next to every tile. The outlets are the hardest part of tiling, often they just require cutting an “L”, but as you can see for this outlet it required a “U”. With our tile saw that just means that we make a ton of side by side cuts until we have cleared out all the excess tile from the “U”.

Here I am in all my tiling glory. One bonus tip is when you’re trying to fit a tile into an awkward spot don’t worry about trying to get mortar on the wall, instead just mortar the back of the tile like I was doing here.
Grouting is probably my least favorite part of the tiling process. Because it’s messy and time sensitive I didn’t share any pictures of this part. Here’s what you need to know… buy the grout that you don’t need to seal, or mix with grout boost so that you don’t need to seal! Also mix to a peanut butter or toothpaste consistency. When your grout is too thick it makes the job MUCH harder. Just follow the instructions on the grout bag and you should be ok. Grouting a smooth tile like Subway tile is MUCH easier than a rough or textured tile. Another important tip is to use grout caulk for the edge along the countertop, window, and ceiling. This is MUCH easier than trying to get an even line of grout in these places. Here are some links to the grout materials you’ll need:

I had asked on Facebook and Instagram for suggestions on grout color, and had a hard time deciding between white or dark grout. Dark grout stands out, vs. white grout would be a bright clean look. Dark grout also shows tiling imperfections, vs. white grout hides them. In the end I decided to go with the dark grout and I’m so glad that I did! I love how to works with the dark lines on the cabinets and the cabinet hardware.

If you’re looking for other backsplash Inspiration, here are other backsplashes that I’ve shared on my blog:
- Modern Kitchen with Brick and Tile Backsplash
- Farmhouse Kitchen with Grey Tile Backsplash
- Modern Kitchen with Modern Mosaic Backsplash
- How to Paint a Dated Backsplash
 If you’re looking to make an affordable simple update, tiling a backsplash can make a dramatic transformation. Take a look at how far this little kitchen has come compared to this before picture! Other than the countertops, all of the updates we’ve made in here have been very affordable. Thanks so much for stopping by today and checking out our new subway tile backsplash!

SaveSave


This is exactly what I was looking for. Thank you so much for sharing the details!! It’s going to help me tons!
It looks great Jess! So glad you went with white subway – such a timeless look. The dark grout looks SO GOOD! xx