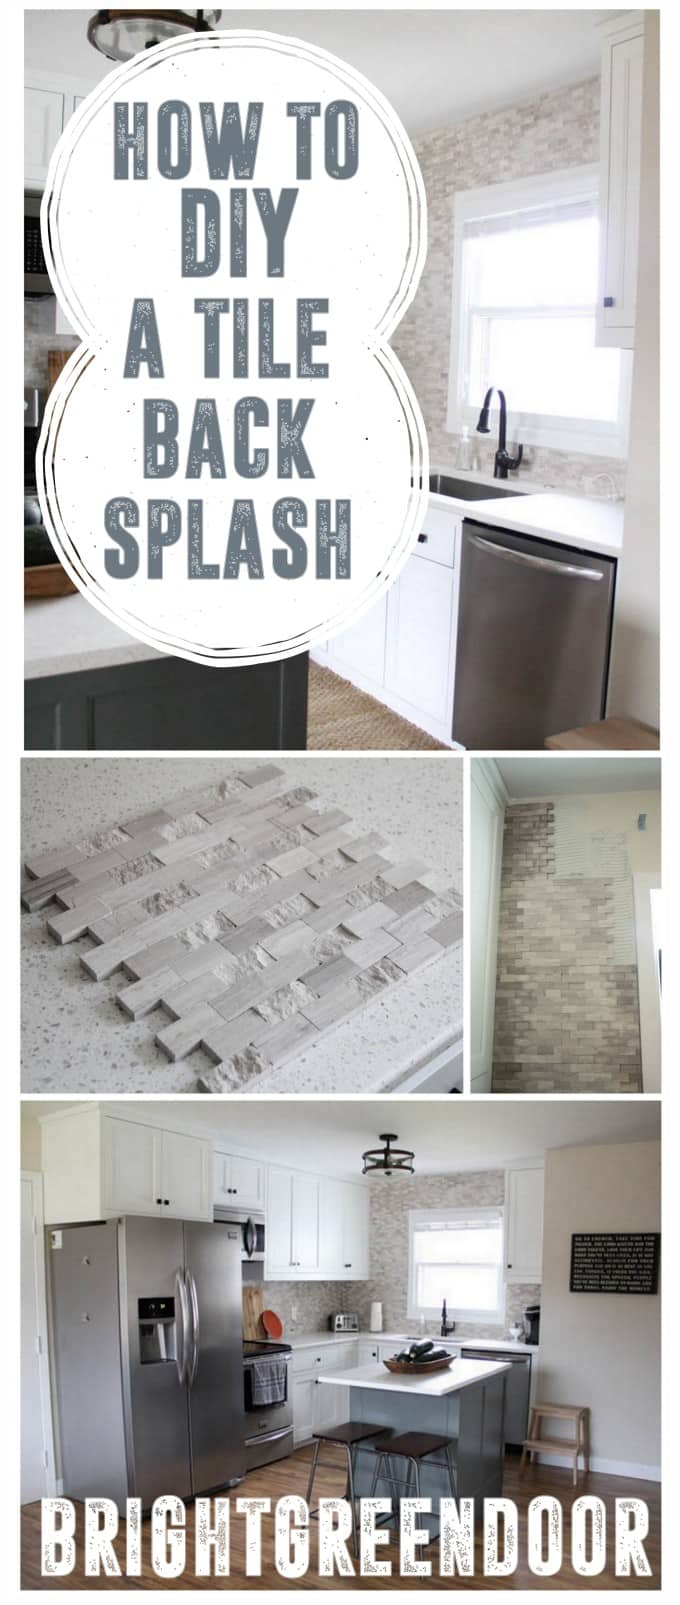
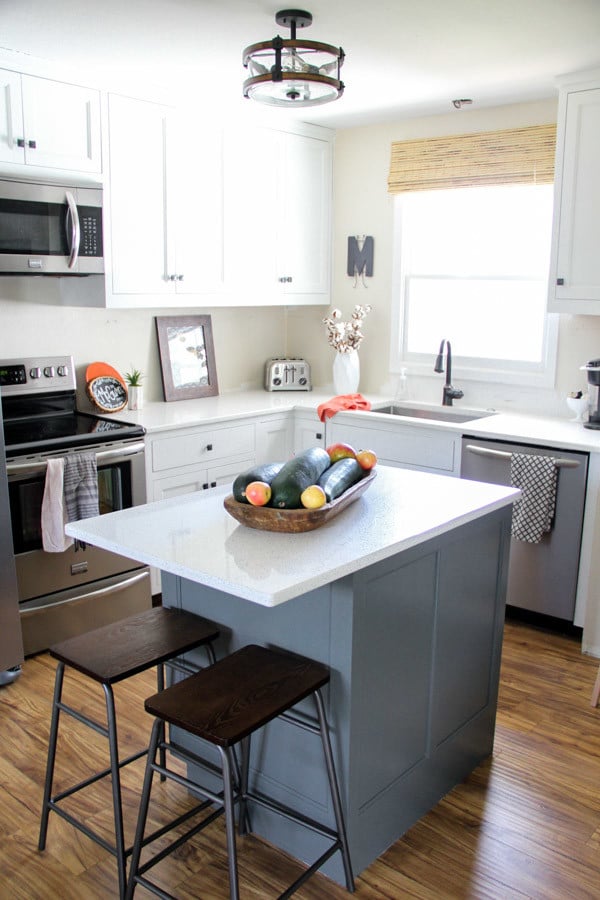
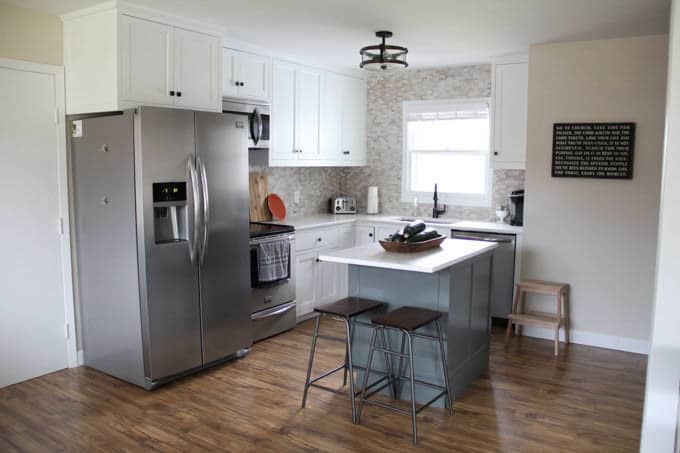
Now that things are starting to settle down I am finally getting a chance to share some of the final projects from our Retro Ranch! When I shared our kitchen reveal we were so close to being done but we still didn’t have a backsplash. That meant that one of the projects during our crazy final weeks before putting the house on the market was to install a mosaic tile backsplash. Here is how the kitchen looked pre-backsplash, really gorgeous, but just not quite complete.
I really LOVED the backsplash we had put up at the Auction Adventure House. I knew that I wanted to do something similar but not identical. Here is a picture of that backsplash: 
I ended up finding this tile at Lowe’s that I really loved. It had the same tones as the last house’s tile, but in a mosaic form rather than subway tiles.

Right away I knew I loved the way that it pulled the grays from the quartz countertops. I also loved the combination of the smooth and rough surfaces.

Putting it up was just a tad stressful. Mainly because even though we alternated the sheets in a brick pattern we could still really see the lines from each 12×12 sheet.
The tile also took a LONG time to dry from the wet saw and I started to get very afraid that we had different colored sheets. Here’s an example of how it looked while it was drying:

Can you see why I was seriously afraid?! Here’s a picture of the backsplash before we grouted it. Do you see all the lines between each sheet of tile? This was after fitting each sheet as tightly as possible into place.

Thankfully though grout saved us and once the backsplash was grouted it looked amazing. The grout managed to fill in each seam and cover up the lines between each sheet. Although the grout saved us I still think that it’s super important to try and fit the sheets together as closely as possible. Often we used a piece of wood and a mallet to tap the tile sheets just a little closer together.

This backsplash was definitely the finishing touch to make this kitchen into a luxurious modern kitchen. Even though most of the aspects of the kitchen are neutral, the backsplash added a lot of texture and character.
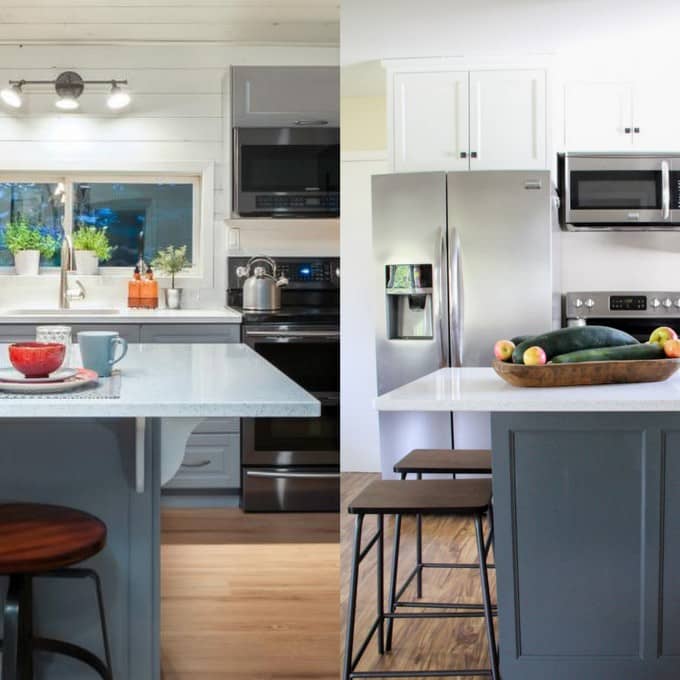
A few days ago I was watching HGTV’s “Property Brothers Home on the Ranch” and watched how they renovated their “Ranch Cabin”. I noticed that they used the exact same countertop and paint color on their island! If you follow me on instagram or Facebook you’ve already seen this, but check out the similarities!
Tools to Install a Mosaic Tile Backsplash:
Before you tackle a similar tile project these are the tools we used *Contains Affiliate Links*
–Wet Saw– We’ve been lucky enough to be able to borrow my dad’s saw, but if you plan on doing a few tile projects you can own a saw cheaper than renting each time.
–Mortar/Grout Tub– I like mixing my mortar in a tub like this, with a trowel, rather than with a drill and power mixer. It all comes down to personal preference though.
–Grout Sponges– Because this tile was rough it tore apart sponges fast, we used up 3-4 for this project
–Grout– I really liked using “Power Grout” because there was no sealing required. Otherwise if you don’t want to seal you can use a regular grout and mix it with grout boost instead of water.