
When we moved into this house, I knew that I loved the kitchen, but that I needed to make it fit me a little better. It was just a little too “Tuscan” and needed to be a little more modern.
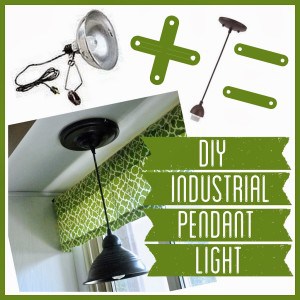
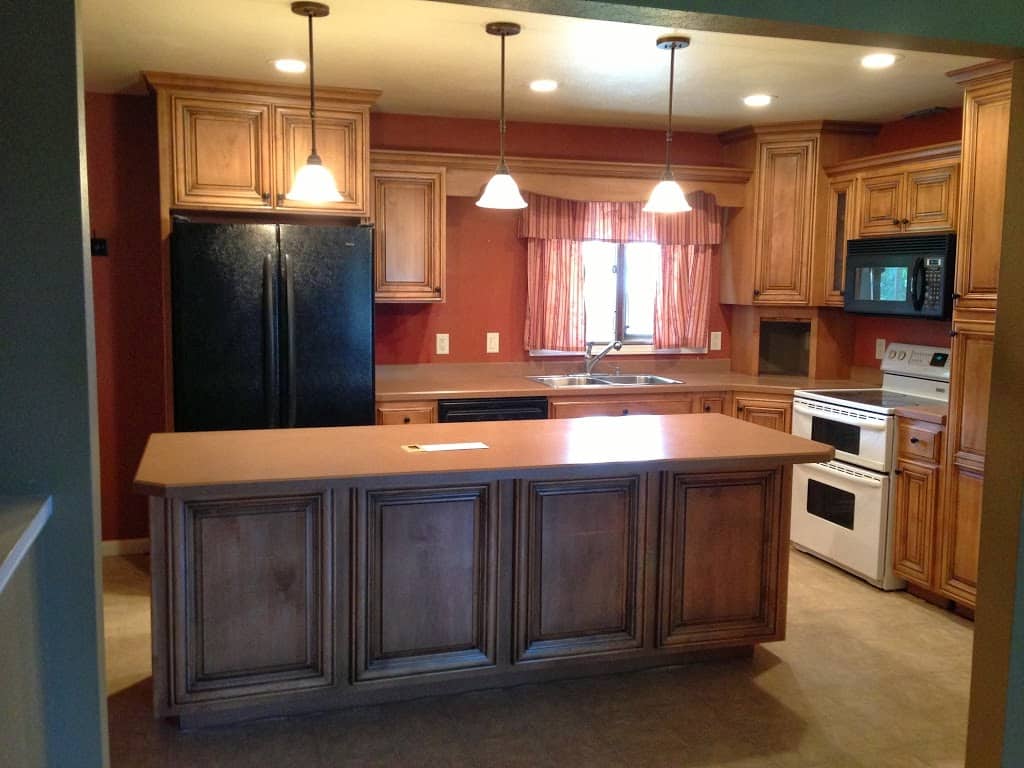 The lights that we started with weren’t terrible, but they were just a little too plain and not quite modern enough for me. I’ve always loved industrial pendant lights. In fact, in our last house I made one for $14 using a utility light and pendant kit.
I had been eyeing these:

**Post contains affiliate links** 1. Neo-Industrial Mini Pendant $89.90 2. Chic Vintage and Industrial Pendant $159 3. Vintage Pendant Mini Light $98 4.Wire Cage Pendant Light $148
Even the cheapest one at $90 x 3 would come to $270, which is a lot for perfectly functioning lights just to make them more “me”.
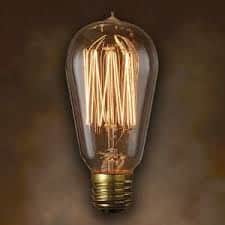
No matter what light we ended up going with I knew I wanted to use Edison bulbs because I LOVE the way they look! I ordered these ones that I love. We actually just took off the glass shades and installed the Edison bulbs and left it that way for a few weeks.

Then while I was contemplating dropping $270 on I was shopping at Target and came across these gems for $22.99!!

Amazing!! But… the hitch was that they are lamps, that get plugged in, and aren’t set up to be hung as permanent fixtures. But… I realized that if we could just make the hole in the top of the wire cage about a half an inch bigger that we would be able to install it on our existing pendant fixtures!

So… Matt got out our Dremel and cutting attachment and ground out the opening so that it would fit over our current pendants! Sidenote… he didn’t wear glasses and a piece of metal actually got into his eye! It ended up requiring a ton of pain, a day of missed work, a canceled family photo session, a Sunday emergency trip to our friend the Optometrist and a long vibrating needle and tweezers to get the metal shard and rust out of his eye! Lesson learned: wear eye protection!
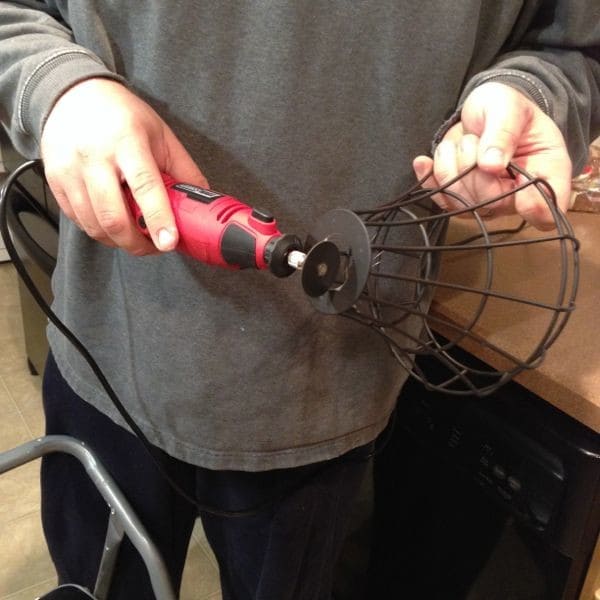
After Matt’s eye was healed and all three pendants were ground to be 1/2 inch wider than they were for the Target lamp fixture we just screwed them on to the existing pendants! The old pendants are a bronzer color than the oil rubbed bronze cage lights so eventually I’d like to take them down and give them a coat of ORB, but for the time being I LOVE them.

For a grand total of $66 (and an optometrist bill), all three rang in cheaper than even one of the three I was originally considering!

Seriously… they add the perfect modern touch I was looking for! I could just swoon over them all day long!

If you’re considering DIY’ing a light here’s a few other DIY lights I’ve made in the past:


Next on the kitchen docket… paint the cabinets, remove the curvy wood apron over the sink, replace the white oven for a black one (even though I’m loving the double oven), and replace the leather stools for some metal industrial stools.
Also… if you love DIY Industrial Pendant Cage Lights you might also love the DIY ORB Cage light and DIY Industrial Pendant that I made for our last house!

What a great idea! You completely changed the whole look, gotta love Target and a bit of creativity!
I just ran into this same problem! I found cages that fit, but they are a slightly different color too! Also the hanging part is somewhat rough while the cage is smooth. Do you have any suggestions?!
That’s awesome that you found cages that fit! I would use a hammered finish spray paint like this one to give the whole project a consistent finish. That way the whole light will be rough.
http://www.amazon.com/gp/product/B0002YVWLU/ref=as_li_tl?ie=UTF8&camp=1789&creative=390957&creativeASIN=B0002YVWLU&linkCode=as2&tag=brigredoo-20&linkId=RRTEUMEU5HAAGWMG
Thank you so much!!!
These look awesome! I love your creativity and way to think outside the box.
Thank you so much!