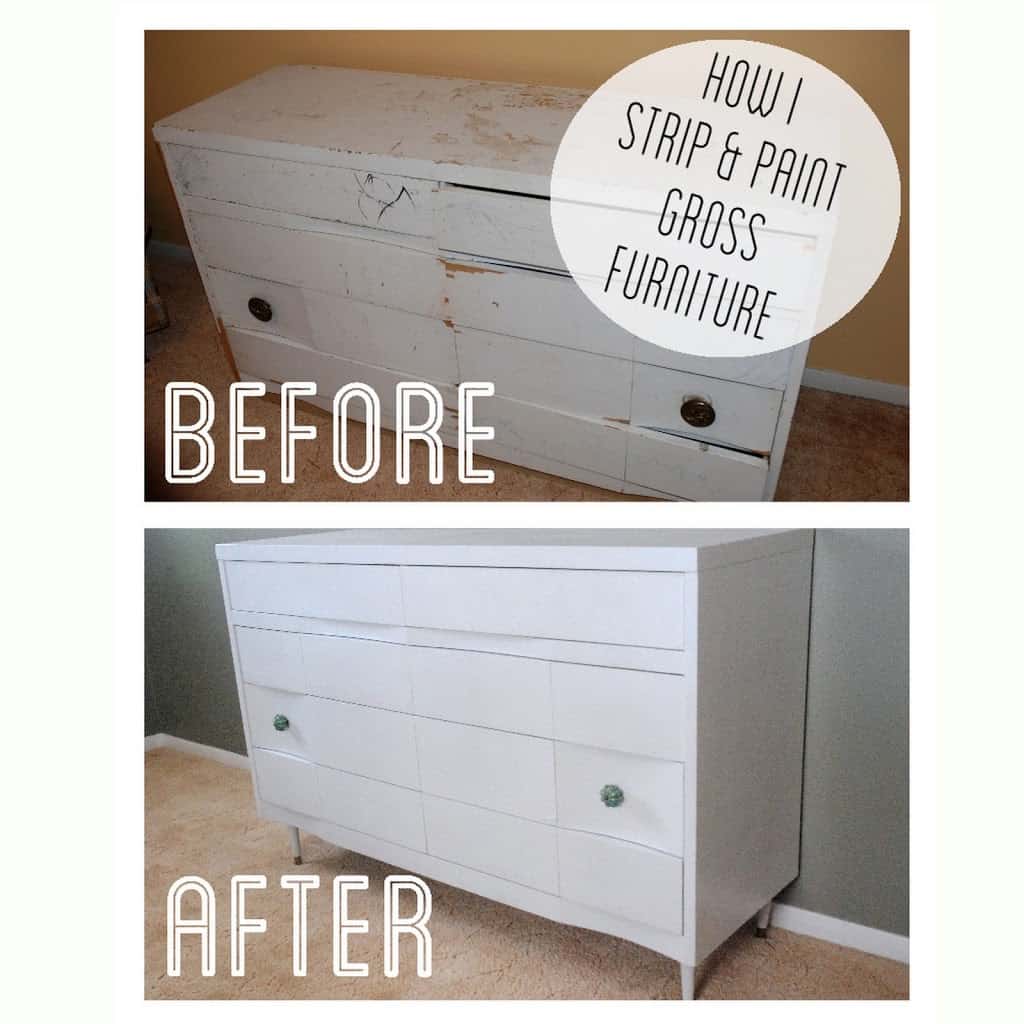
I started with this beast that I found on Consolidated for just $50 (it came with a big framed mirror too). It was dirty, written on, stinky, and really gross.

I started by removing the knobs and putting a thick layer of Citristrip on every surface. Then I saran wrapped it so it wouldn’t dry out. My friend showed up as I was wrapping and wondered why the heck I was wrapping ugly furniture in saran wrap.
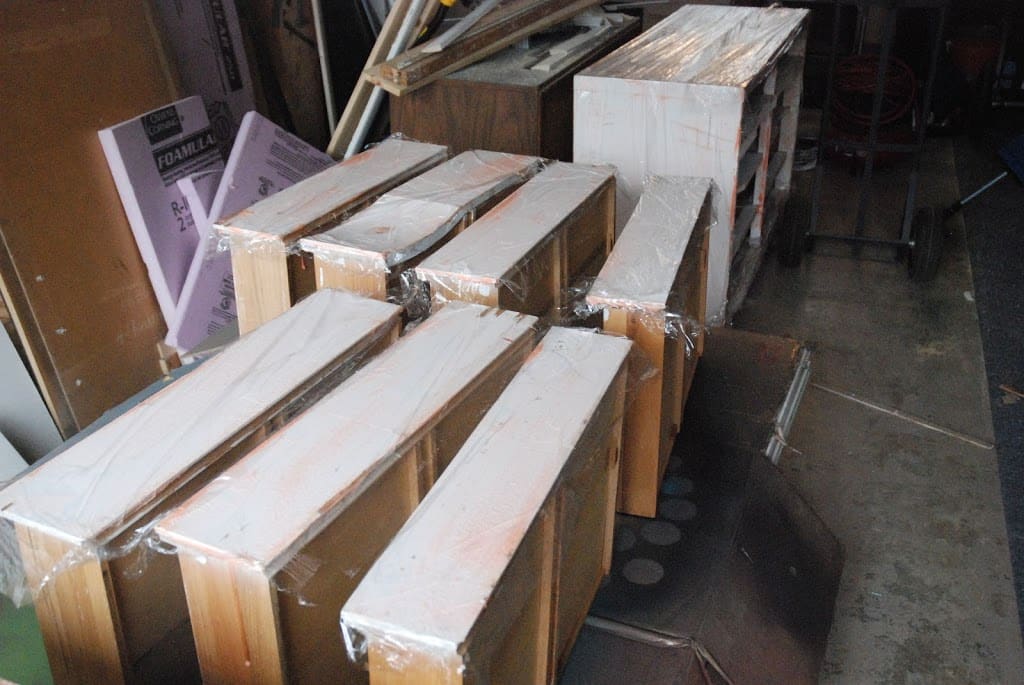
I let it sit almost 24 hours until it was super crackly and when I pushed on it with my finger the paint just pushed away.
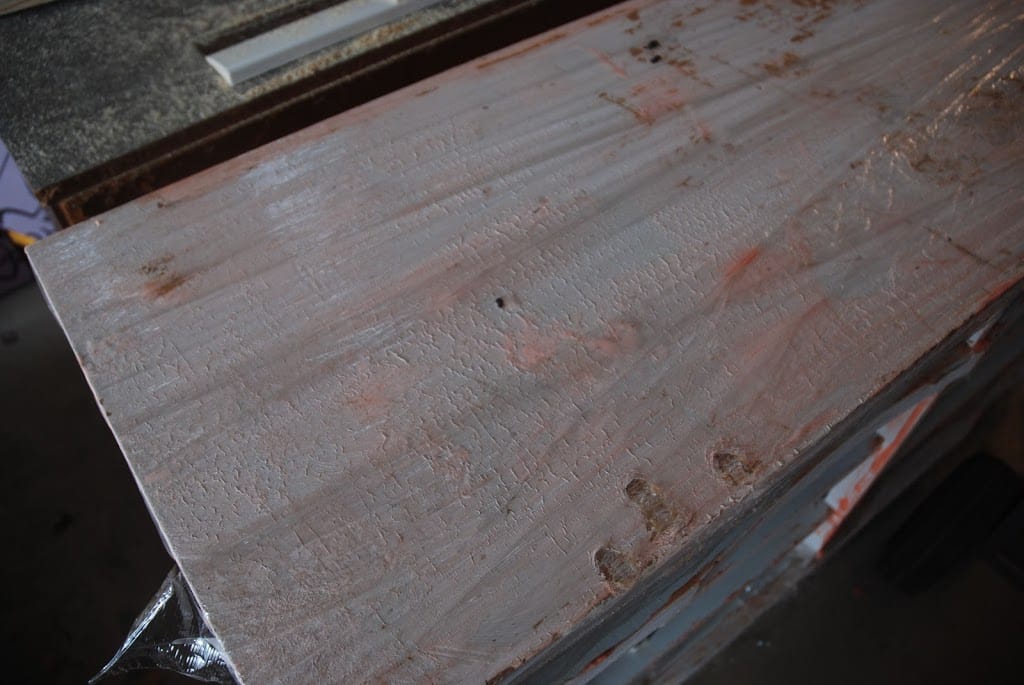

So I unwrapped it and started scrapping. By scraping I mean just pushing the layers of stinky nicotine filled paint away. Seriously, the garage smelled like nicotine as I scraped the paint off.
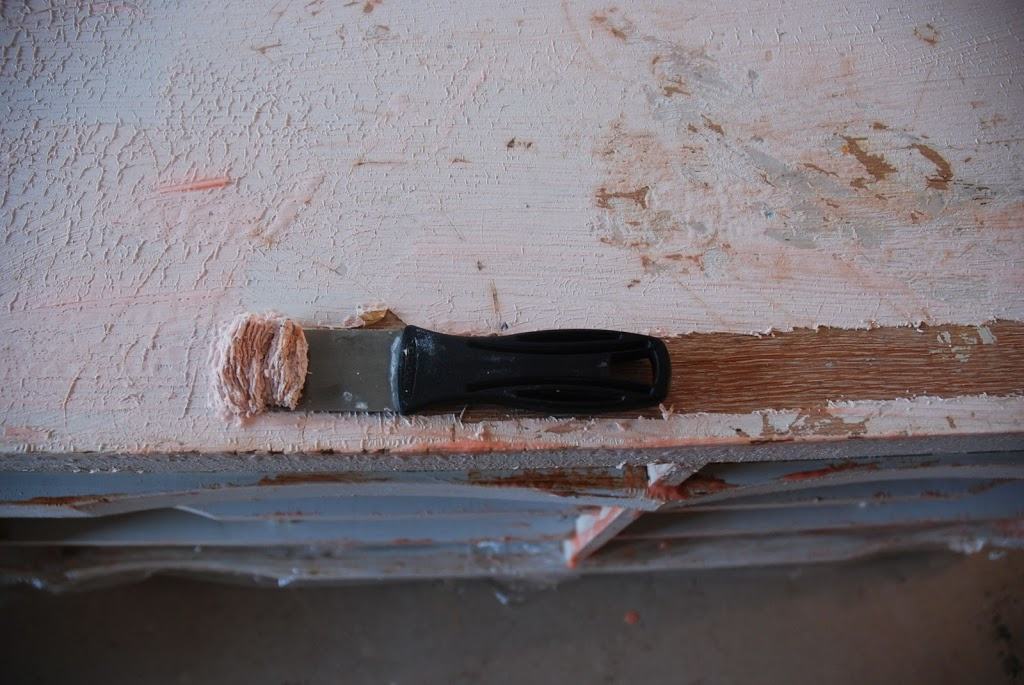


Then I scrubbed the whole thing really well with soapy water.
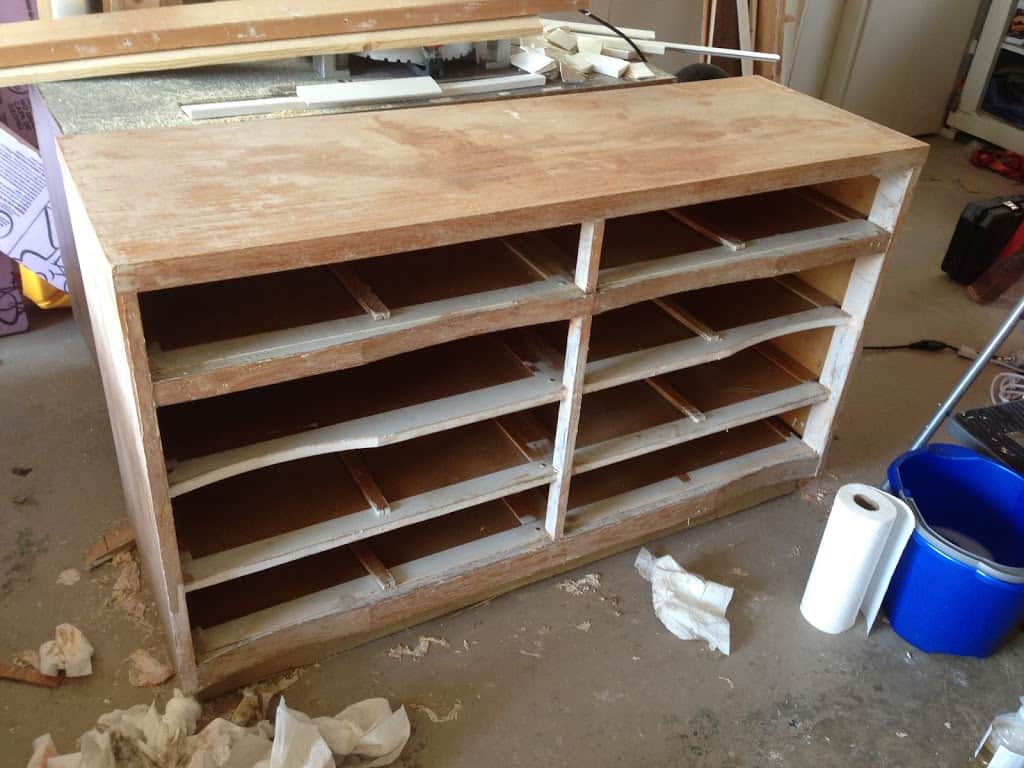
Although it looks like solid wood it actually had a thin layer of laminate on it and was in too rough of shape to just sand and stain. I wish.

I know there are a million tutorials on the internet on how to paint furniture… chalk paint, oil paint, latex paint, paint sprayer, spray paint etc. They all probably work great, but chalk paint is expensive, oil paint is hard to clean up, latex paint leaves brush strokes, and I don’t own a paint sprayer. So I paint furniture with spray paint.
After getting it super clean I sprayed it with 1 coat of Rustoleum 2x white primer.
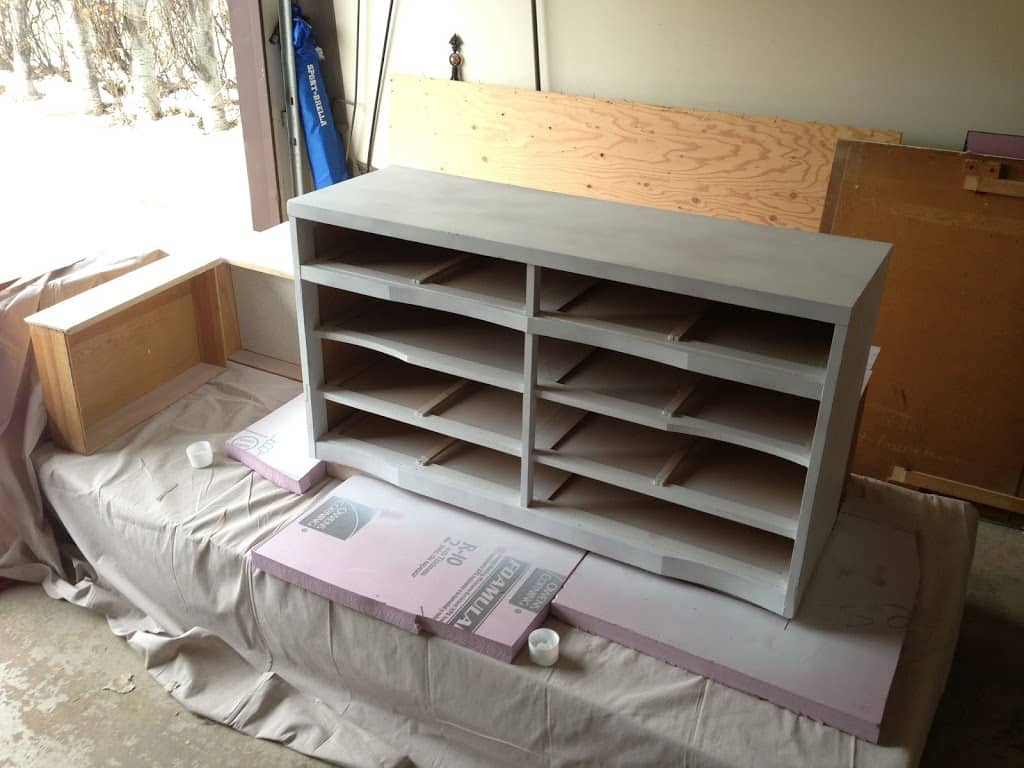
This helped show exactly where the chipped laminate was that I had to repair. See how chipped the drawers were?
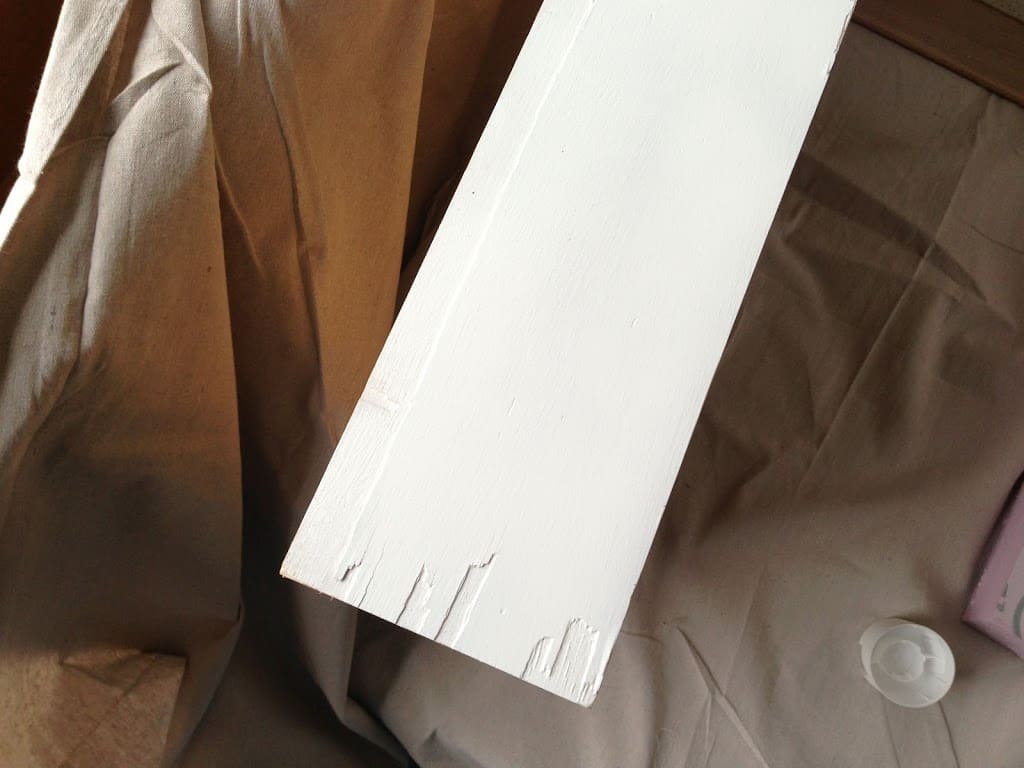
So on went the Elmer’s wood filler in every crack and crevice.
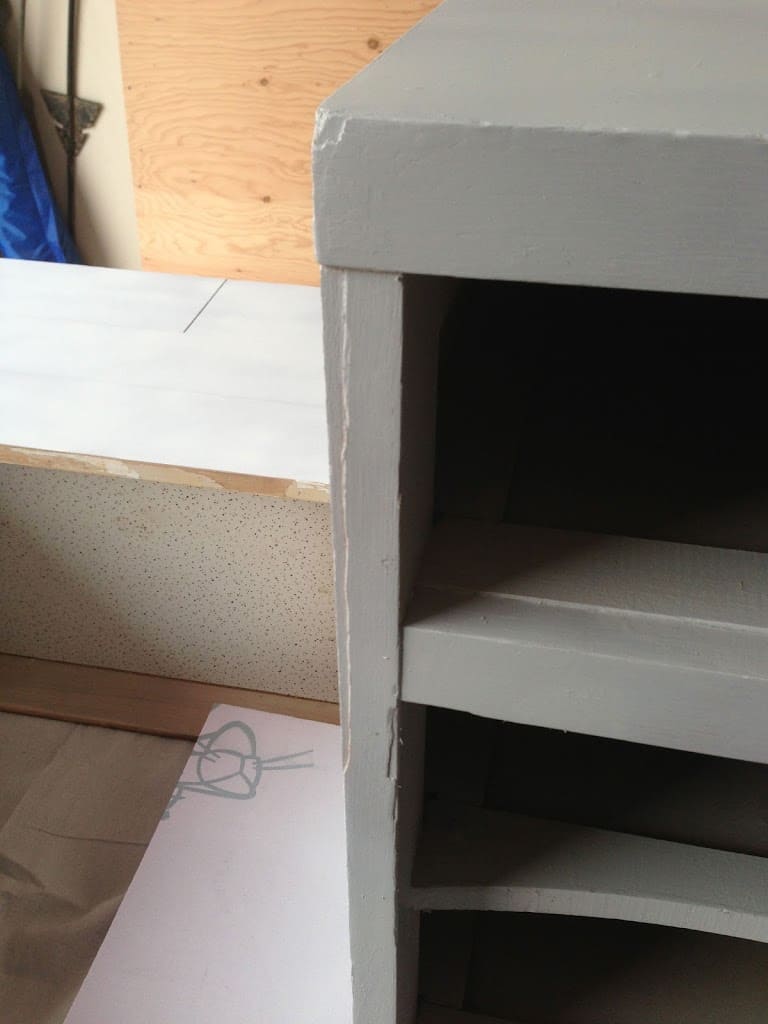
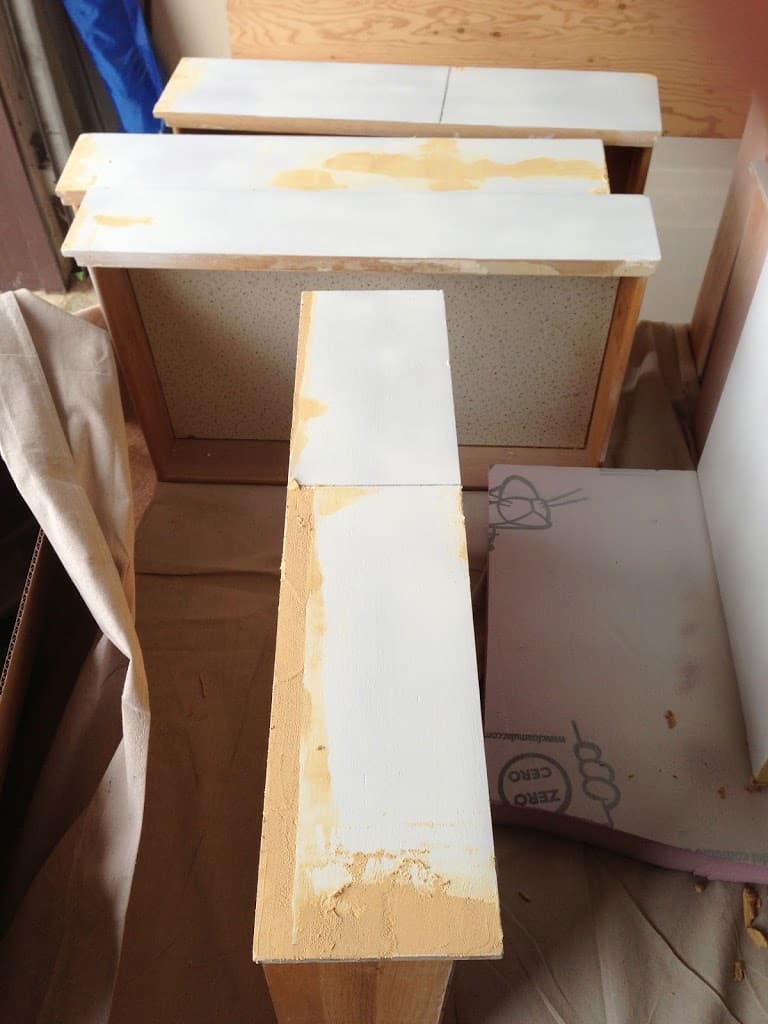
Then I patiently waited another 24 hours. Painting furniture is a waiting game.
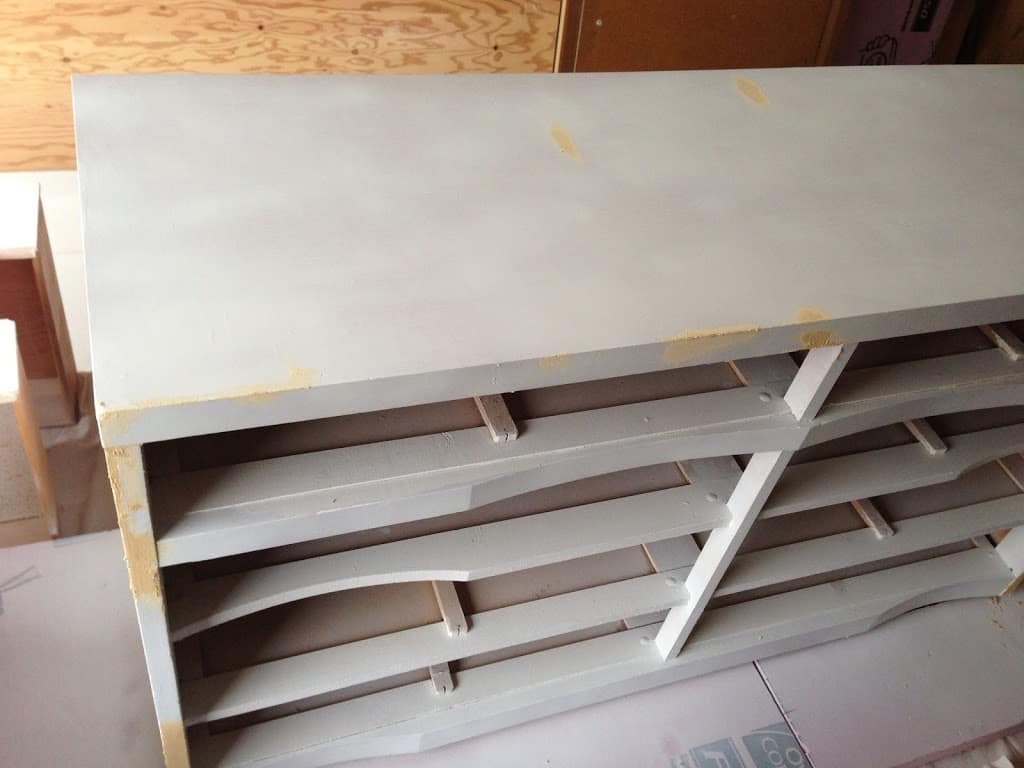
Then I sanded down all the wood filler. This was the only sanding I did on this whole project.
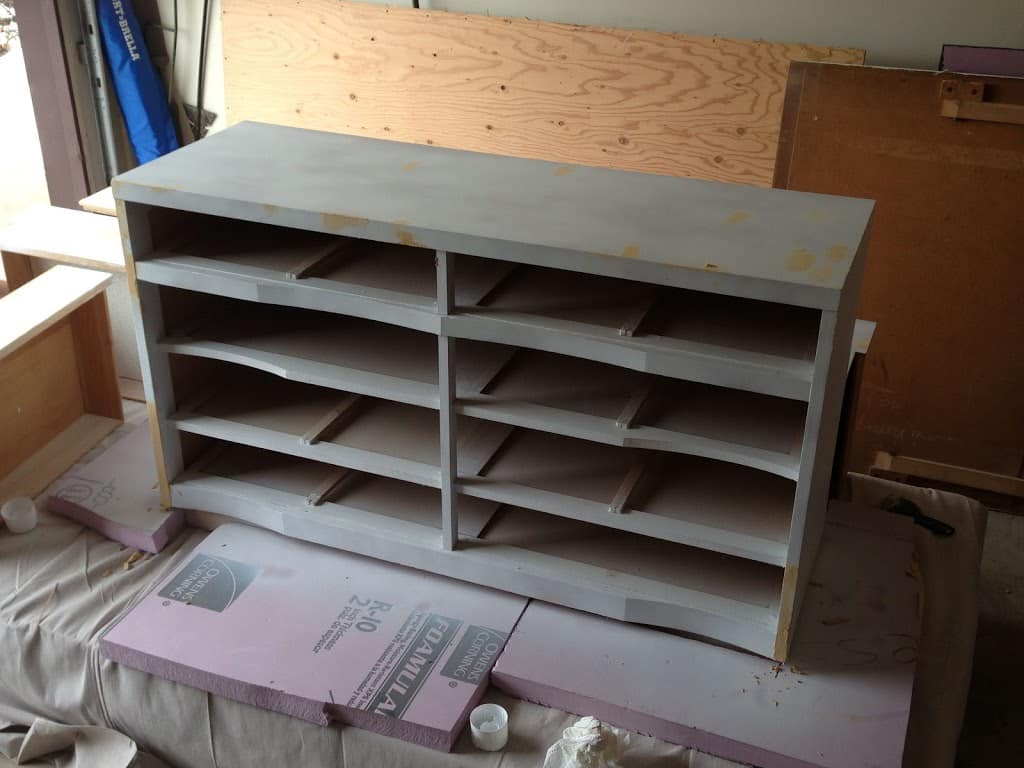
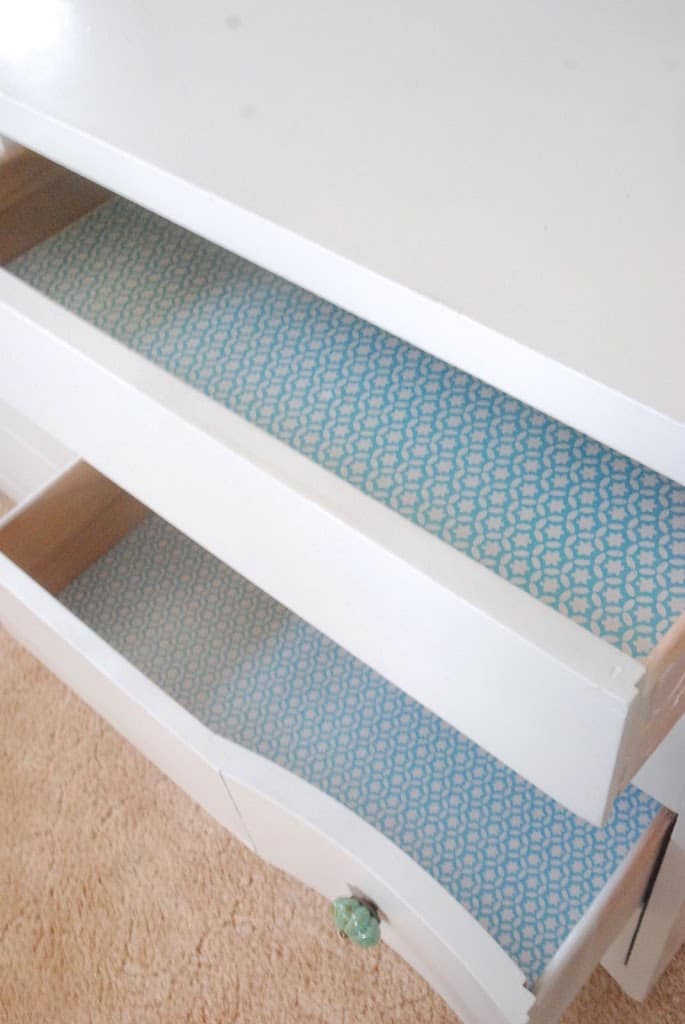
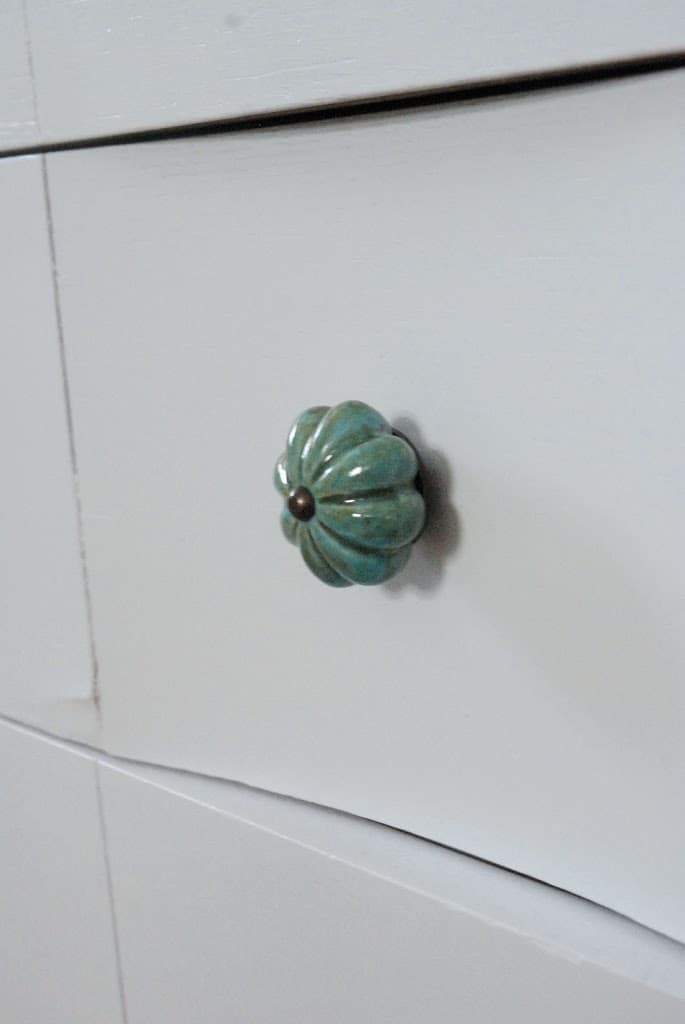
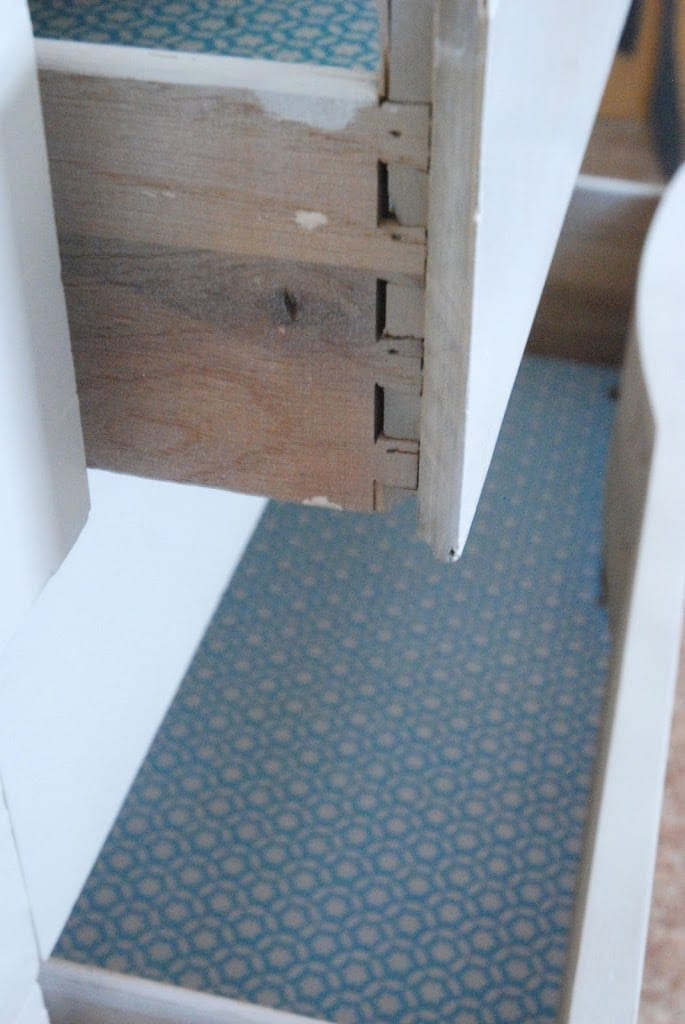
Then I stopped taking in process pics because I was so antsy to be done! That’s ok… it will help shorten the blog post. From there I did another coat of primer and about 5 light coats of Rustoleum 2x white semi-gloss spray paint. Then I put this beautiful drawer liner in all the drawers and Hobby Lobby knobs on the two drawers that require knobs.
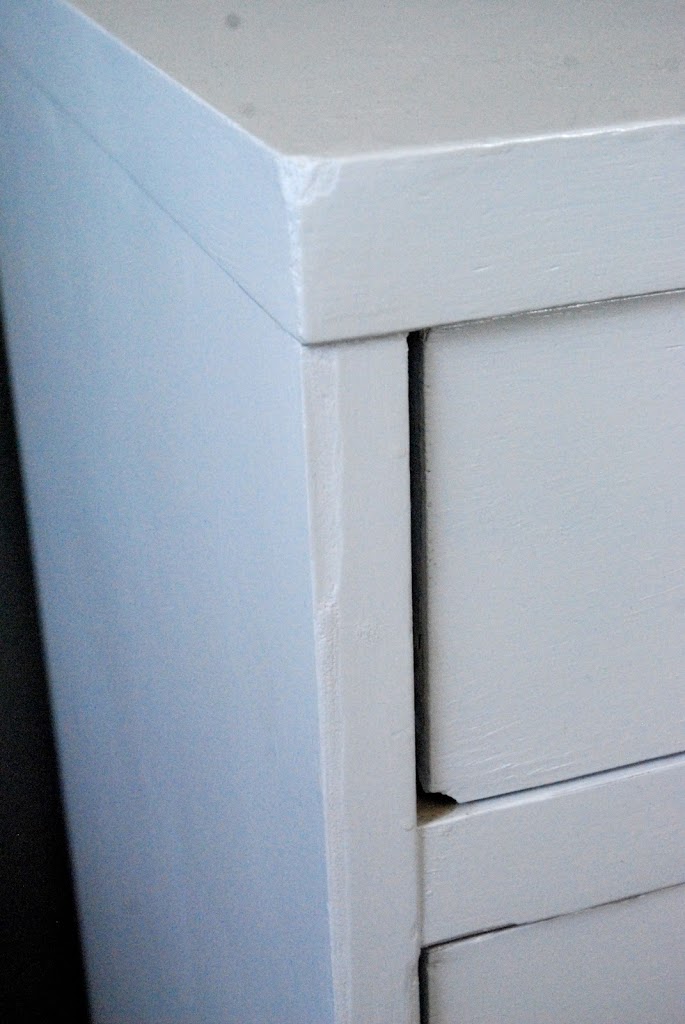
It still has some knicks that give it it’s antique charm, but look at that nice dovetail construction.
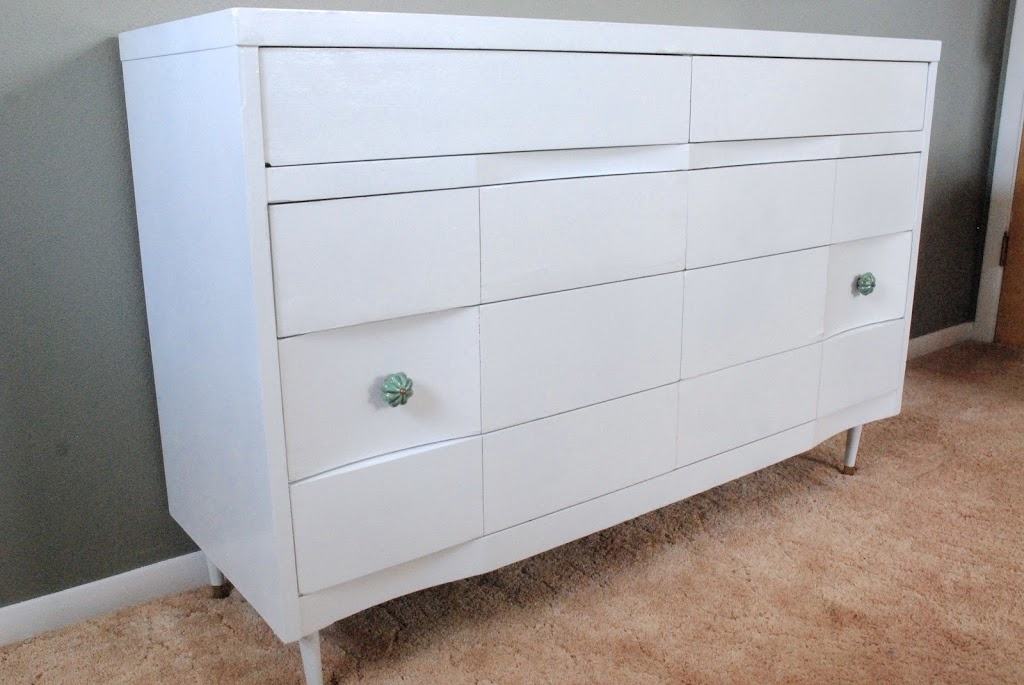
Then I ripped off the gross laminate trim that was around the base and installed 4 mid-century wooden legs from Menards that I painted white. I am totally in love. It looks awesome in my new grey master bedroom and I am so happy to be out of the plastic drawers that I’ve been using since college!
Because it’s so amazingly gross one more look at the before:
and the after:
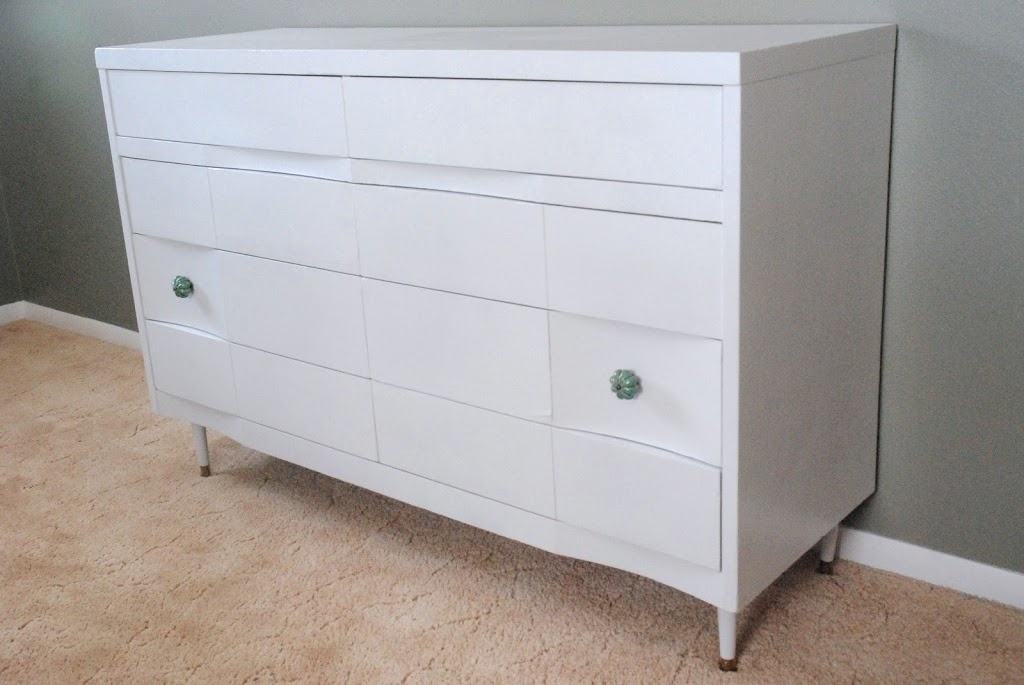
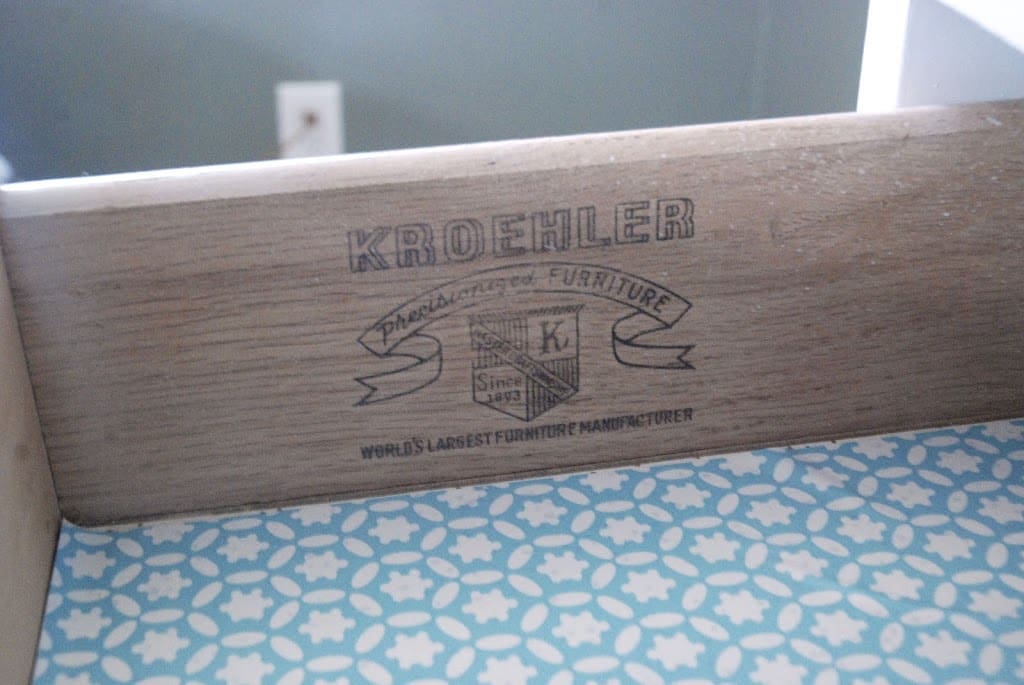
I’m also loving the unique curves of the dresser that allow you to open and close all but two drawers without knobs, giving it a super unique and craftsman feeling. Oh and in case anyone can tell me anything about this bad boy here is the stamp on the inside of one of the drawers.
Painting my bedroom was the ticket to getting in gear on some of these unfinished “master bedroom” projects that I’ll share with you over the next few days.

my absolute favorite thing about this dresser are the mid-century legs: brilliant!!! you have such patience and determination jess! i feel so lazy when i read your blog 🙂 ha!
That’s amazing! Thanks for posting this. I hope to buy a cheap table this summer from a garage sale that I can fix up instead of buying new.
Have you found one yet!?! If so you definitely need to blog it!
So cool. Great tips. Thanks for sharing and linking up to DIY May-nia! Week 4 is spray painted projects, so hopefully you can share something for that =)
My stripper is always drying out on me! I am going to try the plastic wrap
So going to try the plastic wrap to keep the stripper from drying out, that is one of my biggest problems in the south 😀
My stripper is always drying out on me! I am going to try the plastic wrap
You’re friends will only think you’re a little weird when you tell them the saran wrap is for DIY furniture projects, rather than food! Thanks for stopping by!
Plastic wrap! you’re a genius! I so needed to know that!
Thanks! I think I saw it on Pinterest somewhere, but it makes all the difference!
Looks great! What a wonderful job. Nice tutorial.
So going to try the plastic wrap to keep the stripper from drying out, that is one of my biggest problems in the south
http://painthttp://paintsprayercenter.com/sprayercenter.com/http://paintsprayercenter.com/