
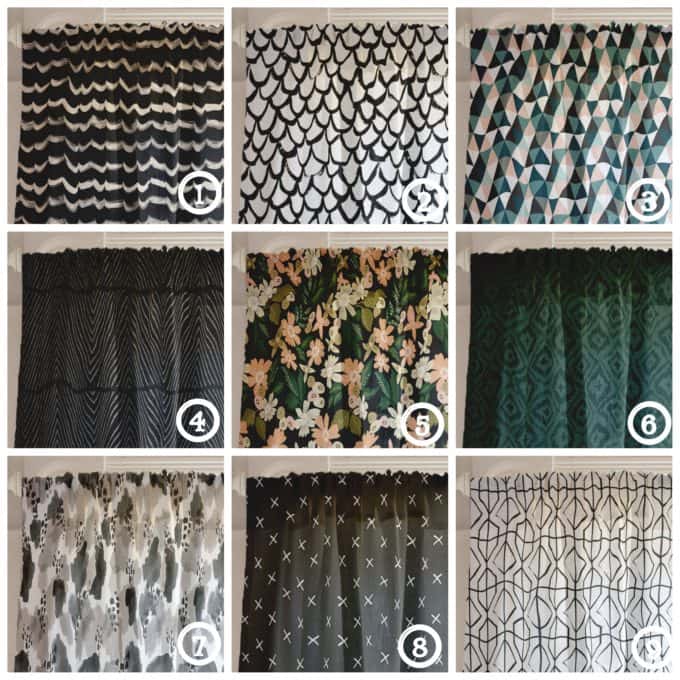
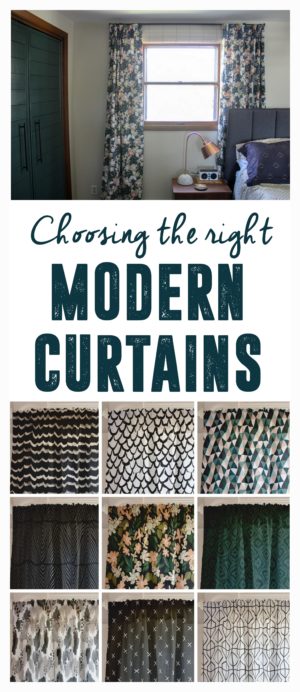
Typically I share my progress on our Master Bedroom for the One Room Challenge on Wednesdays. This week I was SO excited that I couldn’t even wait! Today I’m sharing these stunning new curtains that I just hung! Aren’t they just the most perfect modern floral curtains you’ve ever seen? I also wanted to share my tips for how to hang curtains like a professional with you.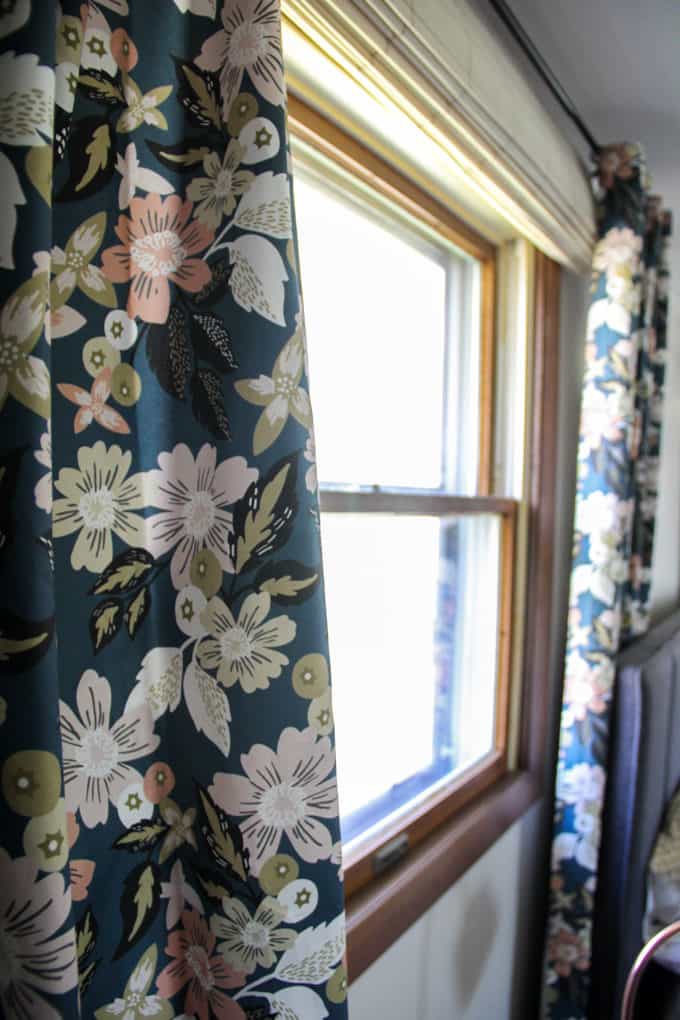 Early into my design planning I knew that I wanted to order my curtains through Minted. I wanted my curtains to make a statement, and Minted has so many unique curtain prints that are completely one of a kind. I actually had a super hard time choosing a pattern. There were the nine prints that I had narrowed it down to before ordering. Aren’t they all amazing?!
 **This post contains affiliate links, this just means that if you purchase anything through these links you’re helping keep BrightGreenDoor running at no additional cost to you**
1-Sketchy Scallops 2- Brushed Scallops 3- Seven Triangles, 4-Uneasy Stripes 5- Midnight Florals 6-Painterly Ikat 7-Painterly Splash 8-X Marks the Spot 9-Iron Gate

In the end, number five, “Midnight Florals” won out. I am so glad it did too, because how gorgeous is this pattern? Many of their patterns are available in multiple colors, including this one that had six different color choices! So now is the part of the post where I’ll teach you everything you’ll ever need to know about hanging curtains. I feel like this is a life skill that Home Economics never taught. I’ll start with the tip that happens before you ever even purchase your curtains. You NEED to purchase curtains that are almost as long as your ceilings are tall. I know that EVERYWHERE sells 84″ curtains and NO ONE has 84″ high ceilings. My advice is to just skip past those cute and affordable short curtains, because you’ll regret buying them when it comes time to hang them. Instead go for the 96″ curtains that are a bit harder to find.

Because 96″ curtains are typically too long for 8′ ceilings, I always start by using Heat-N-Bond to hem them to the appropriate length. My next tip is to skip that channel for putting the curtain rod through, and instead get some curtain clips. With these you can do the faux “pinch pleat” look, and it always looks great.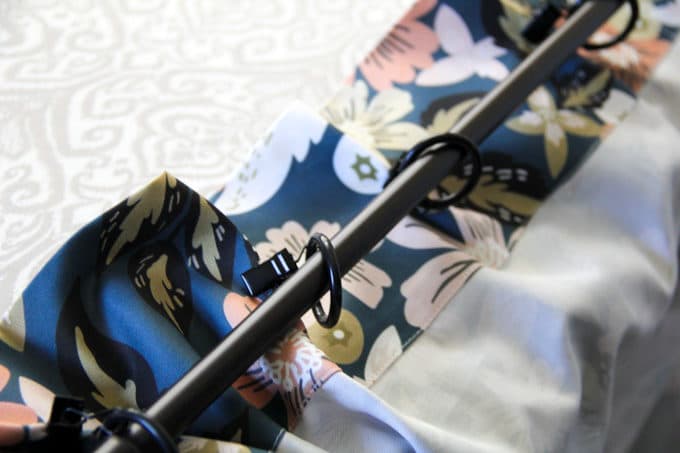
Another reason for using the curtain clips is so that you can put half your curtain on one side of your bracket, and the other half on the other side. This probably makes more sense when you see it pictured here. I made sure to expose the bracket so you could see how it sits in the middle.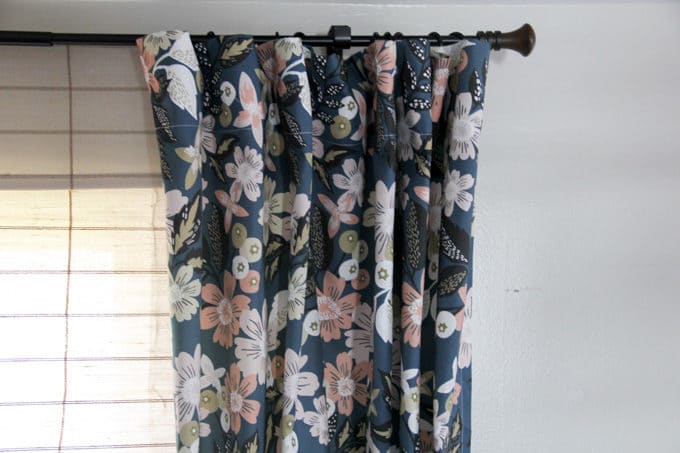
The next part of perfectly hanging your curtains involves hanging the rod way above the window, and also far beside it. For this next picture I really pulled the shade up and curtains aside so that you can really see how much wider the curtain rod is than the window. I typically hang the bracket 6-8″ outside of the window frame. I try to hang the rod about 2-3″ from the ceiling. 
Now with the windows pulled over the frame you can see how much bigger it makes the window feel by hanging the curtains high and wide. The goal is that the curtains should not block out any light at all when they are open. I really like the look of combining a shade with curtains to add height to the window as well.
The last important tip is making sure that the curtains just barely brush the top of the floor, or puddle on it. In our house puddling curtains just collect dust, so I prefer to have them just brush the floor. When curtains hang even an inch above the floor it’s like wearing pants that are just too short. It just doesn’t work.
 Ok, so to recap here are the main points:
- Start by purchasing long curtains
- Use clips to do a faux “pinch pleat”
- Hang your rod above the window and wider than the window
- Use Heat N Bond to have the bottoms just barely brush the floor.
- Consider adding height with a bamboo or roman shade hung above the window.
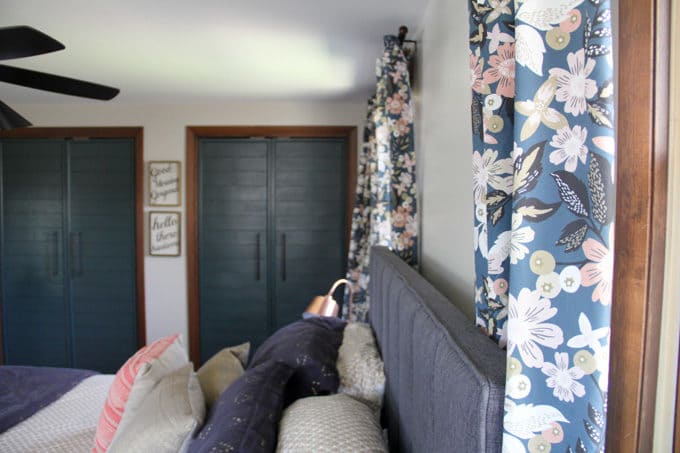
If you follow these tips I guarantee every curtain you ever hang will look like it was done by a professional!

I absolutely love the way that these curtains pull in the colors from the closet, the rug, the wall color, and the bedding. 
At this point there’s only ONE WEEK until everyone will be sharing their One Room Challenge reveals! Even though this room is looking fairly complete I actually have a TON of details to wrap up! I still haven’t hung any art, I have a lot of touch up paint to do, and I have a lot of work left on the door into the bedroom.

If you want to see where this room started and the progress from each week you can check it out here:
Week 1: Before Pics and the Moodboard
Week 2: New Flooring and a Rug
Week 3: DIY French Closet Doors
Week 4: Modern Industrial Bedroom Lighting
Week 5: How to Wall Mount a Headboard

**These curtains were provided to me by Minted. My opinions and review are 100% my own and were in no way influenced by them.** I hope that these tips inspired and empowered you to hang curtains! Also, just because you might have some curtains that are too short, it doesn’t mean you can’t use them! You can add length with a contrasting fabric on top or on the bottom!

I had no idea that Minted sold curtains! I love the ones you picked, they look great!
Jess I adore the curtains and I can’t wait for the reveal! I love the direction the space is going in. As a fellow ORC participant it’s been wonderful to gather some fantastic inspiration. I’d love for you to share your progress at Thoughts of Home on Thursday. Our readers would love to see it. The gathering is at http://www.decortoadore.net
The fabric is truly amazing!! Love how it’s coming together! xx